


Cactus Juice is a heat cured resin used to harden and stabilize most porous material, especially wood. It comes pre-activated in pints and quarts and ready to activate with the included activator in 1/2 gallon and larger (activating directions). It is quite easy to use and obtain professional results in your home shop following these simple directions.
Items Needed
- Cactus Juice
- JuiceProof Stabilizing Chamber (or another chamber of your choice)
- Vacuum pump capable of achieving a minimum of 29” Hg at sea level or 100 microns or less . Higher vacuum will produce better stabilized blanks. (I highly recommend an electric rotary vane vacuum pump since it may take many hours of vacuum to fully evacuate the blanks of air) See this article for an explanation of vacuum and stabilizing
- Small toaster oven (often available at second hand stores for around $10)
- Aluminum foil (optional)
- Material to be stabilized (10% moisture content or less, preferably 0%)
- Personal protection equipment including Latex or nitrile gloves and eye protection
Quick Start Basics for Use
- Prepare blanks
- Place blanks in vacuum chamber and weight down
- Add Cactus Juice to completely cover blanks
- Apply full vacuum to chamber and keep your vacuum pump running until bubbles stop
- Release vacuum and soak blanks for at least twice as long as you had them under vacuum
- Remove blanks
- Wrap in foil or use a drip pan
- Cure at 190-200° F (87-93° C) until Cactus Juice has solidified
- Remove from oven
- Allow to cool to room temperature
- Store your excess Juice for the next use (NEVER USE GLASS OR PET PLASTIC CONTAINERS!)
Preparation
The first thing is to make sure your material has less than 5% moisture content (preferably 0%) and clean. All wood needs to be dried prior to stabilizing, even wood that you purchase kiln dried! Wood that has been sitting in your shop will never be less than Equilibrium Moisture Content (EMC) due to humidity in the air no matter how long it has been sitting. In most parts of the country, EMC is around 10-12%. Since moisture meters are not accurate below 6%, forget using one! The best way to assure your already air dried blanks are as dry as possible is to place them in your toaster oven at 220° F (104° C) for a minimum of 24 hours. Then remove the blanks from the oven and immediately place in a zip lock freezer bag or other air tight container until cool to room temperature. This is necessary because a super dried, hot piece of wood will start picking up moisture from the air as soon as they start to cool down. If your blanks are hot when you add the Cactus Juice, it will cause premature polymerization and you will have complete failure! DO NOT oven dry green wood. Allow all fresh cut wood to air dry for a few months prior to oven drying. Failure to do so will cause cracks and warping.
Oily woods such as Cocobolo and Rosewood should be avoided. The reason is that under vacuum, the oils in the wood will be drawn out and can possibly contaminate the Juice to the point it will not cure properly.
Add Cactus Juice
Next, place your blanks in the stabilizing chamber and weigh them down. Add the necessary amount of Cactus Juice to the stabilizing chamber so that the blanks are completely submerged with about 1-2" (25-50 mm) of Juice covering the blanks. Make sure your stabilizing chamber is in a secure, stable location. A vacuum chamber under vacuum may implode if exposed to sudden shock such as hitting the floor!
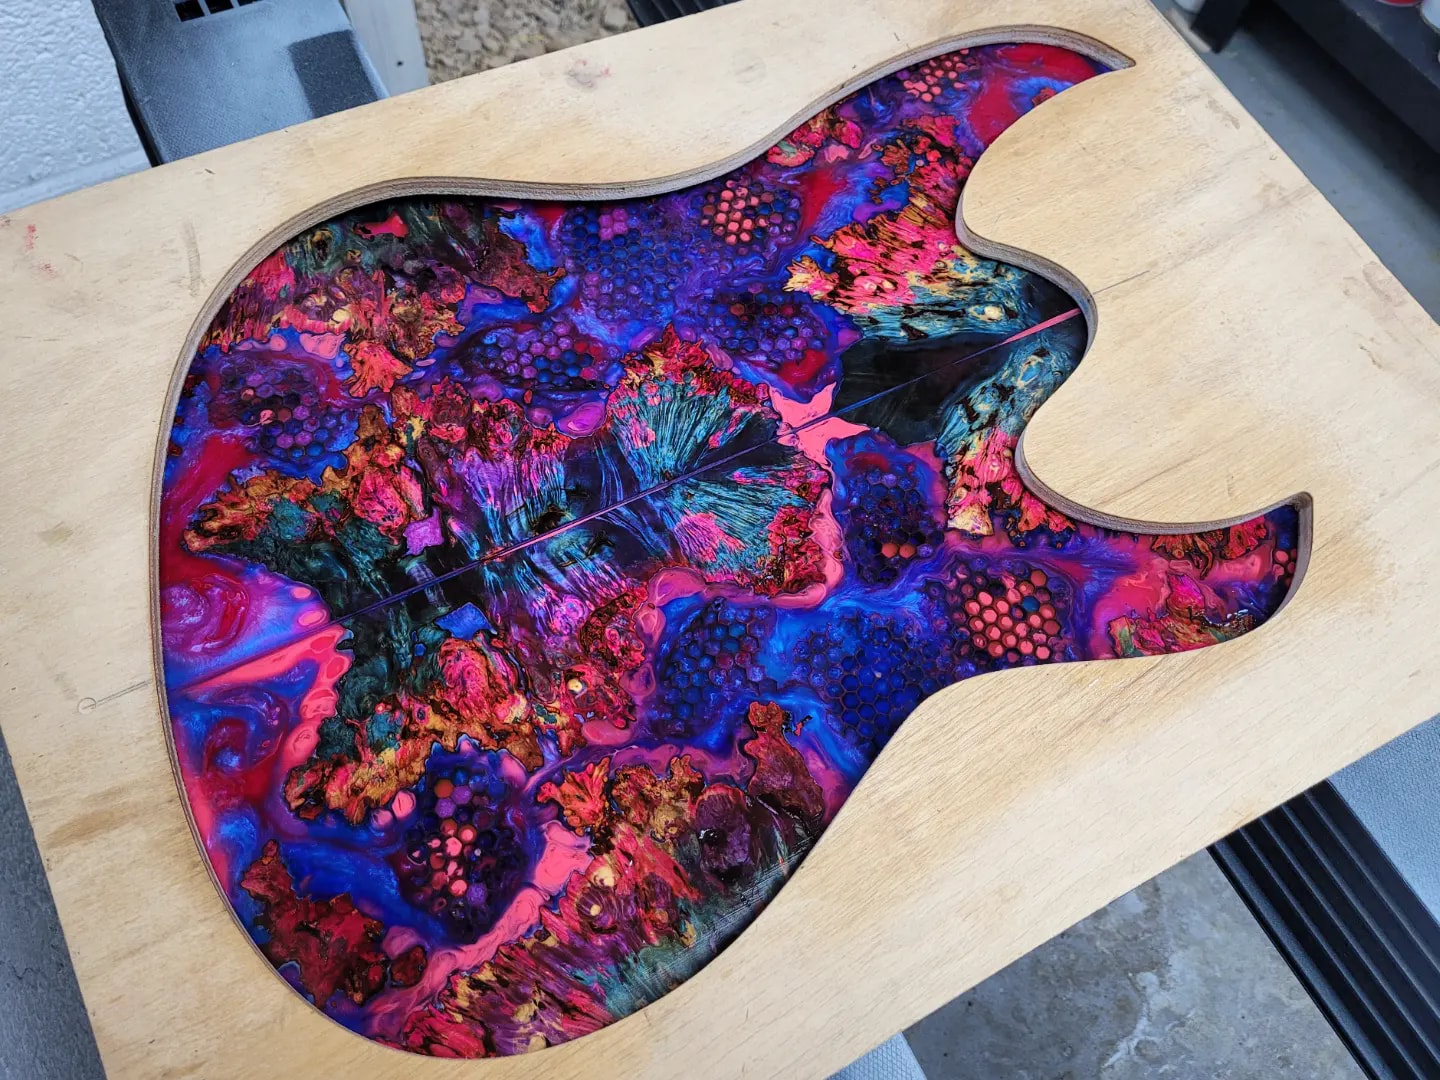
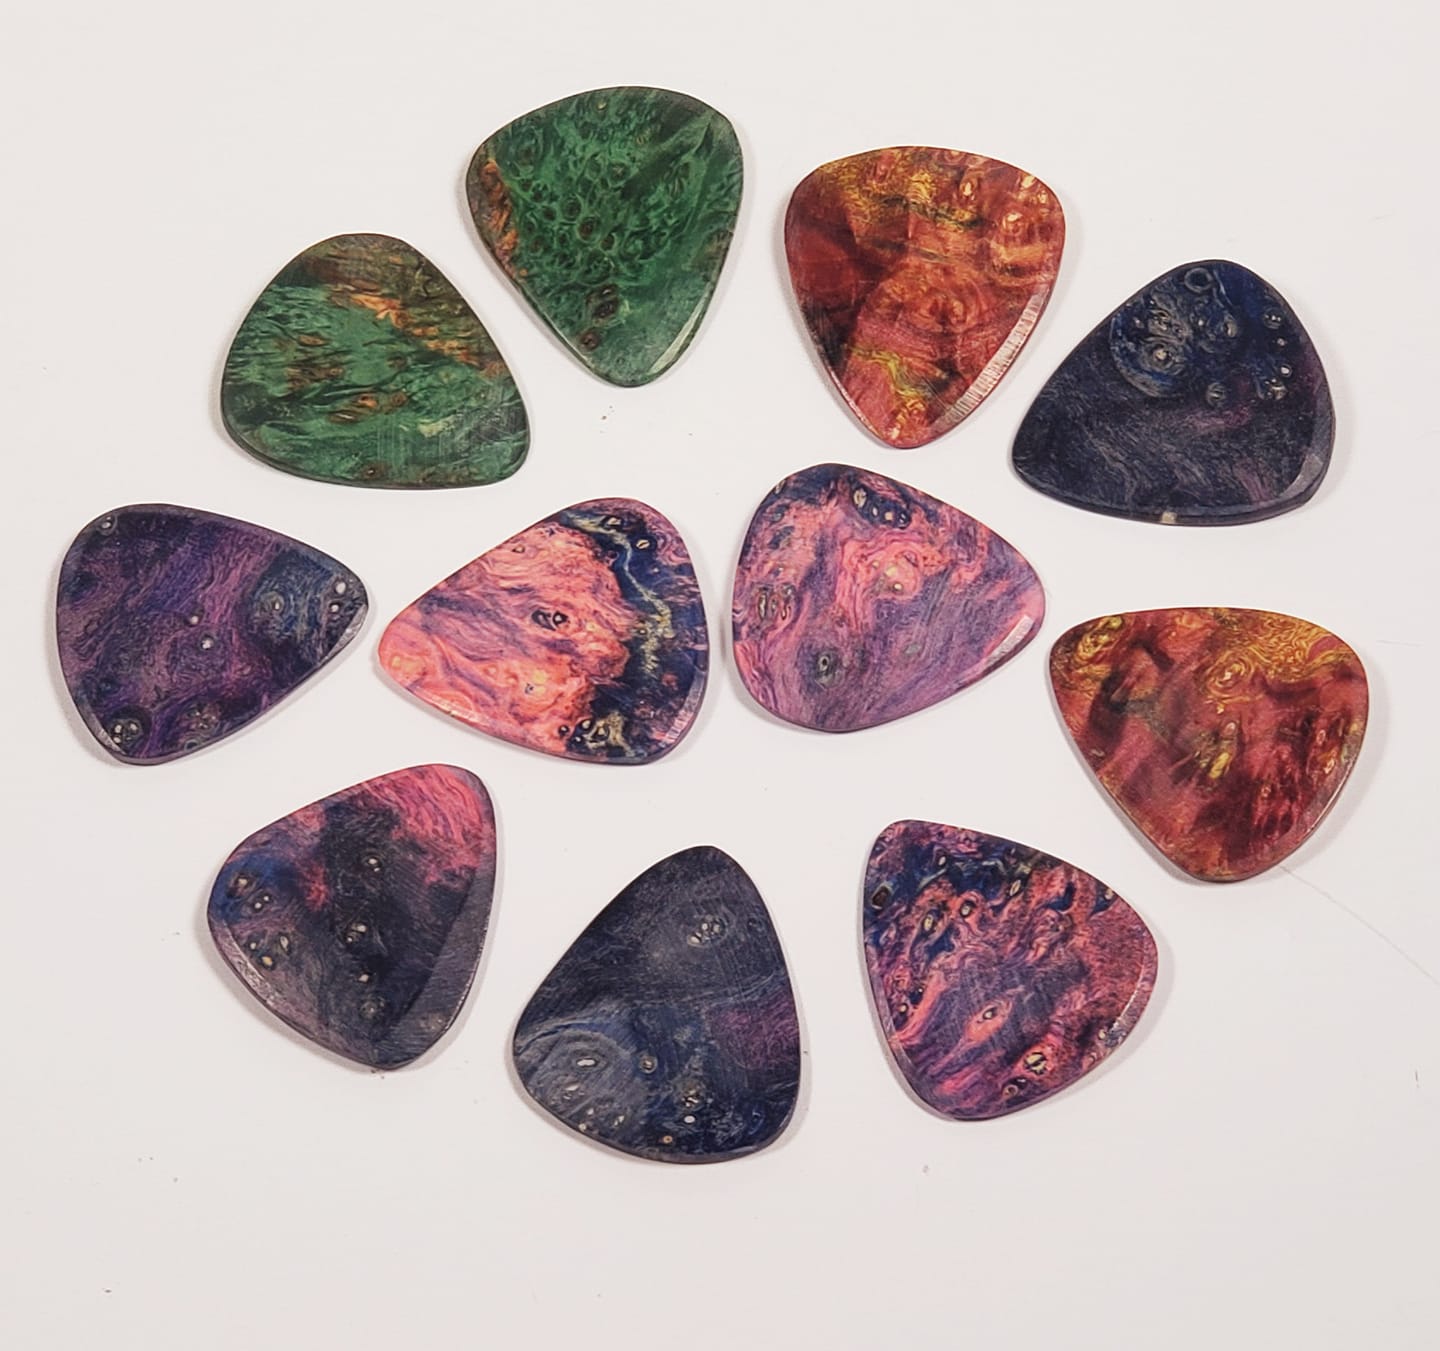
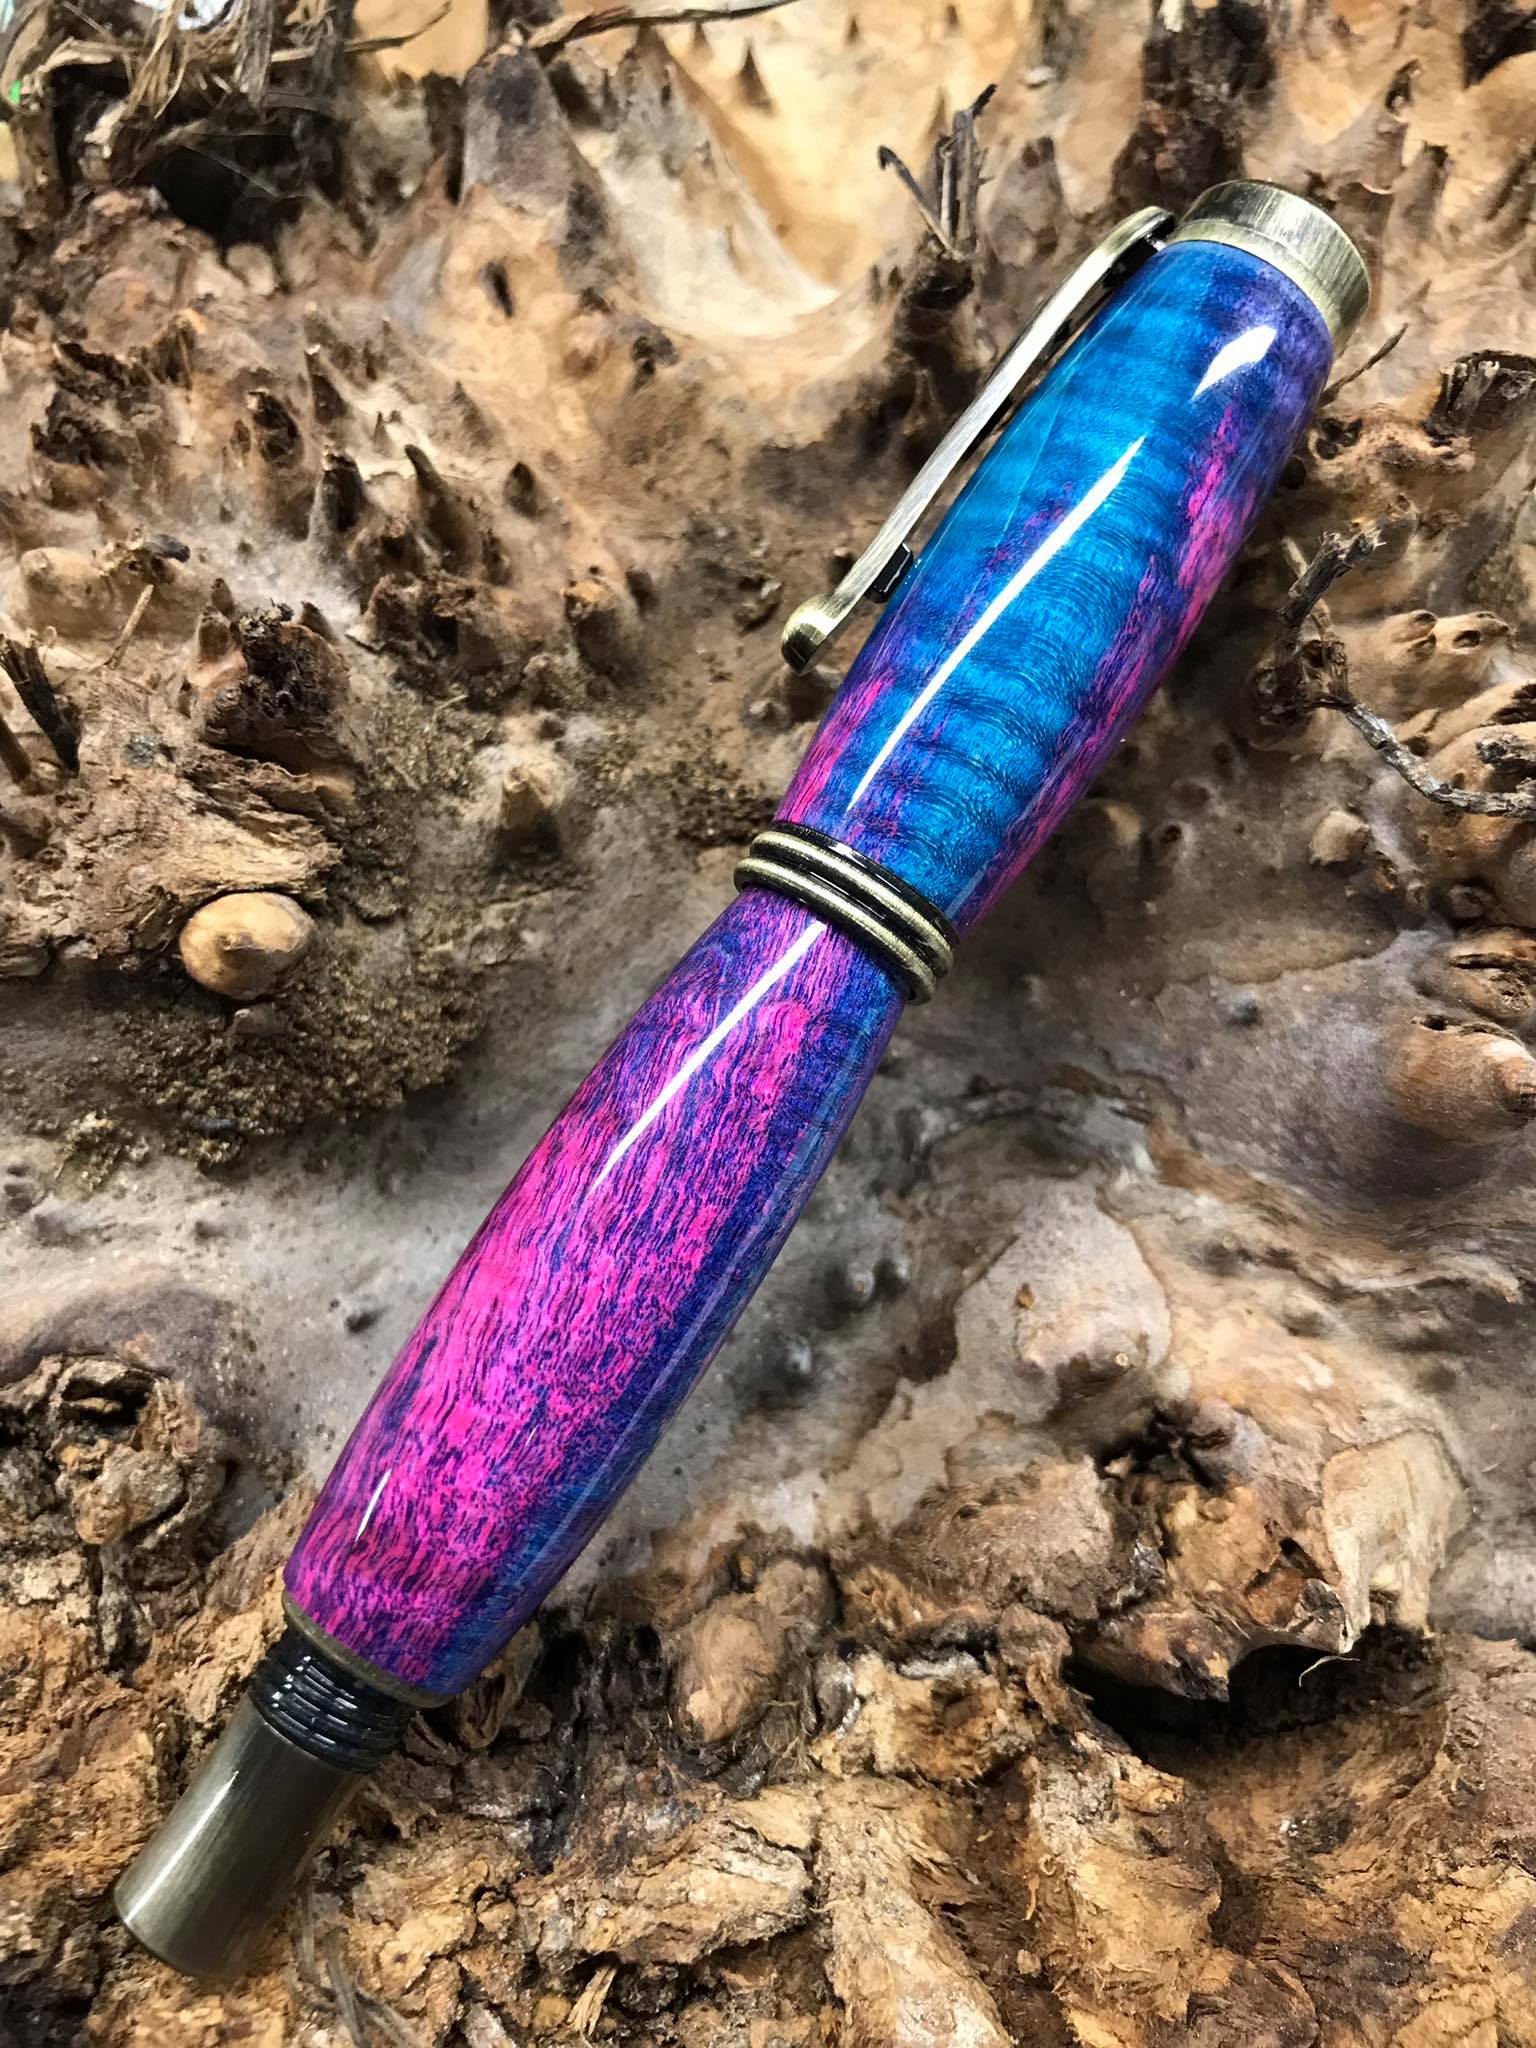
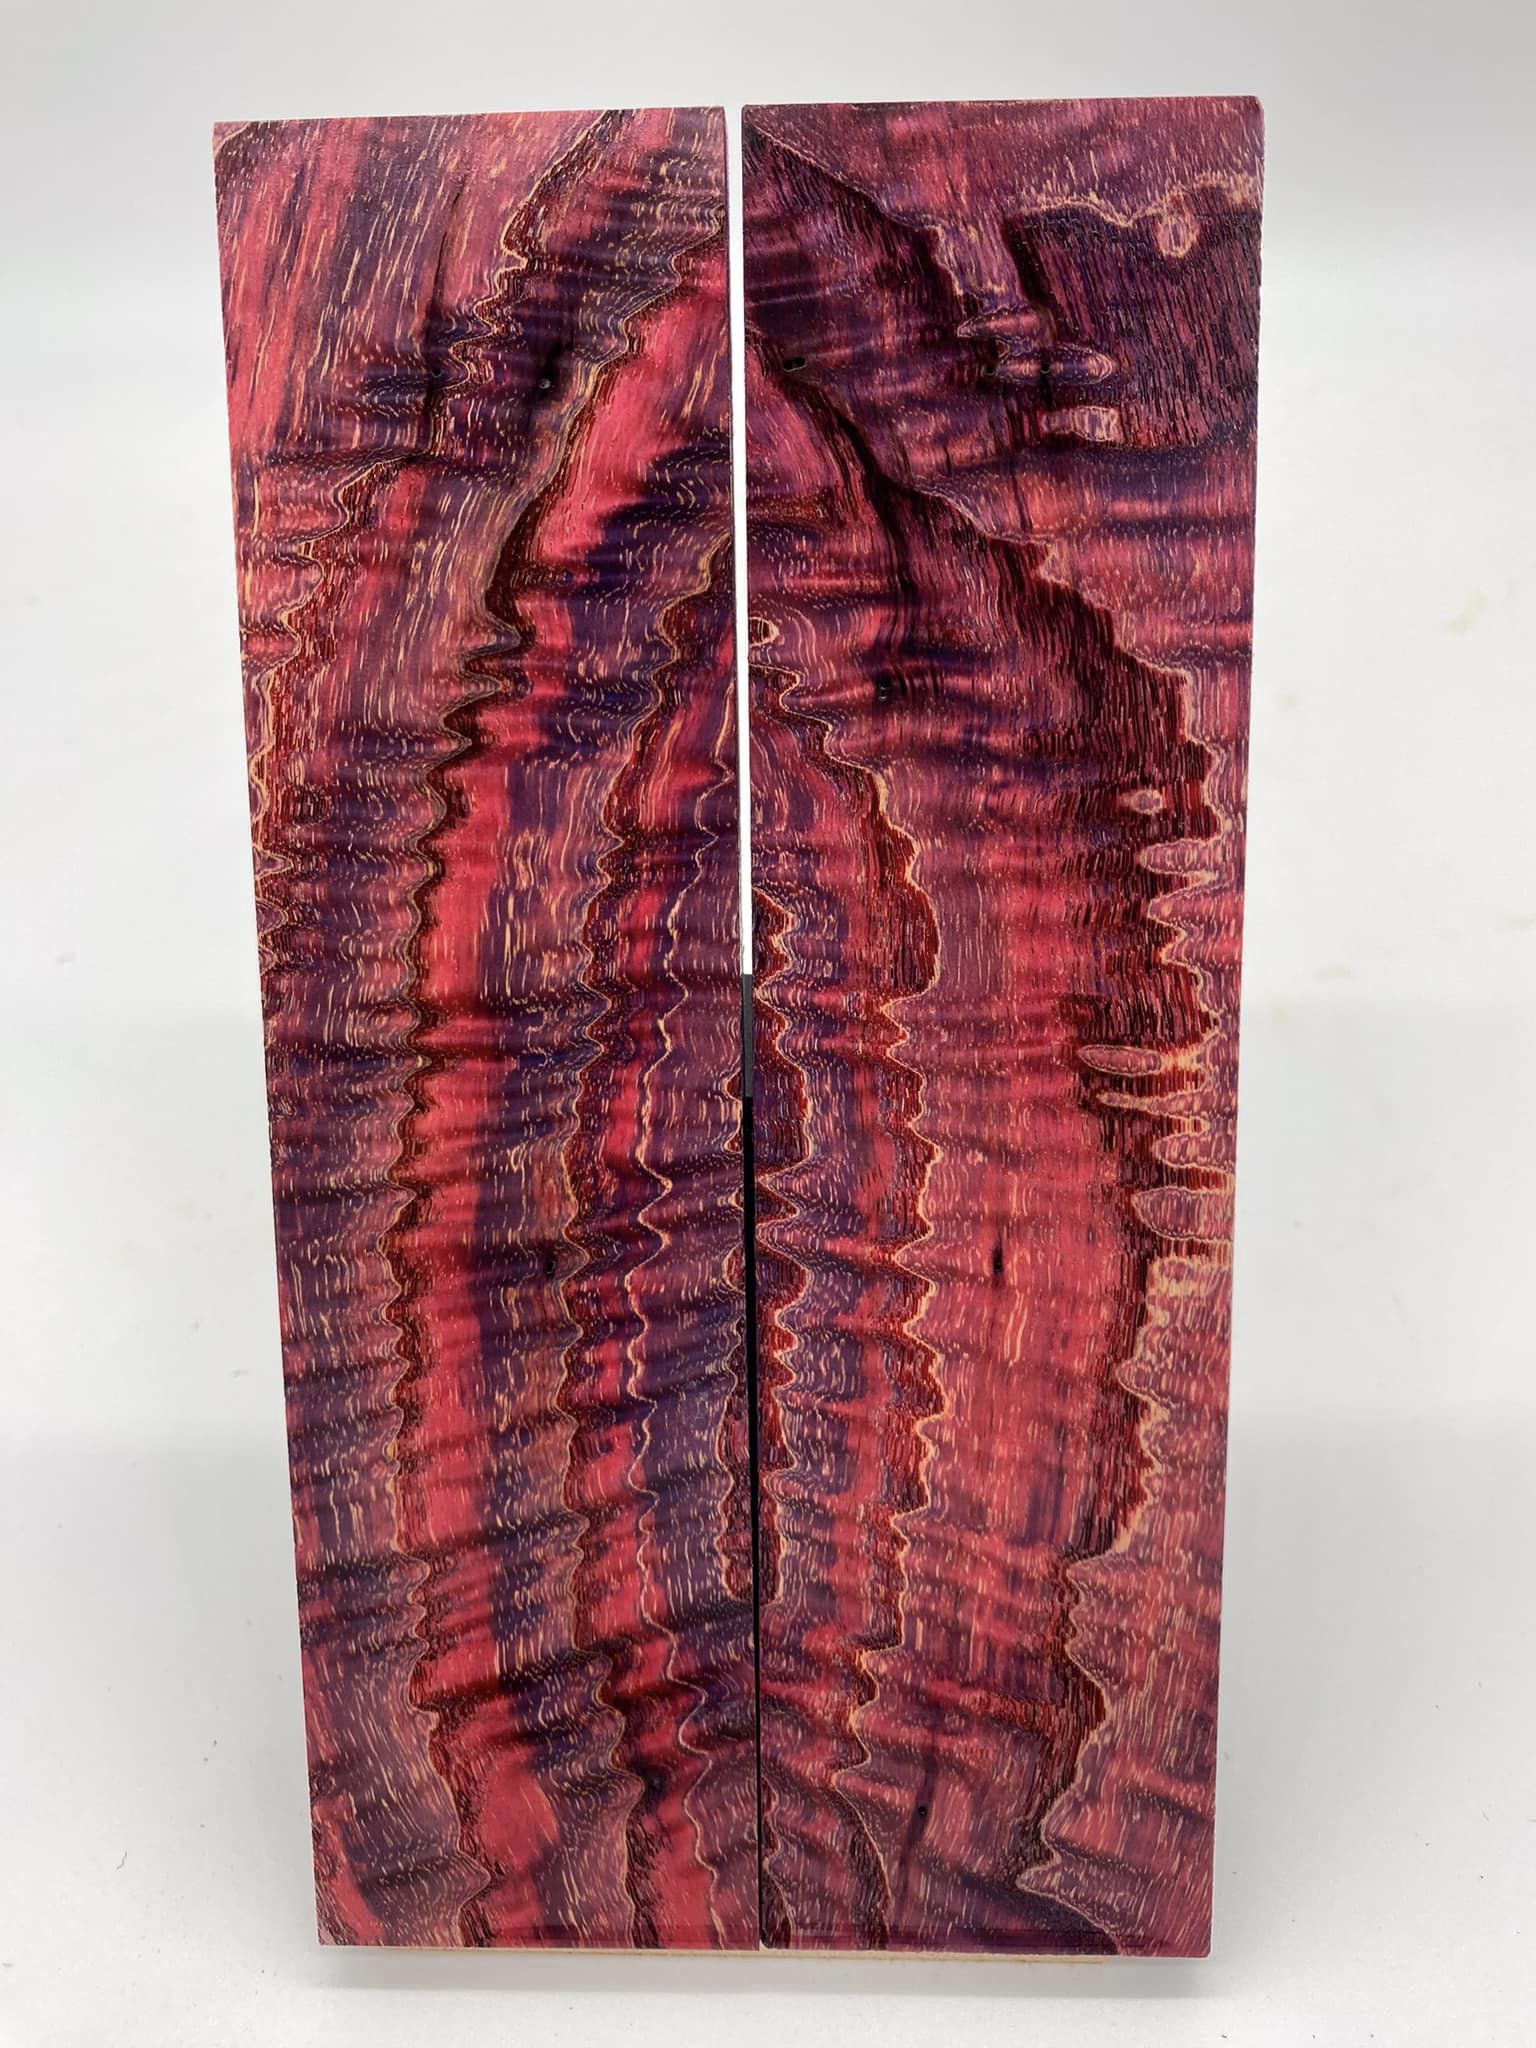
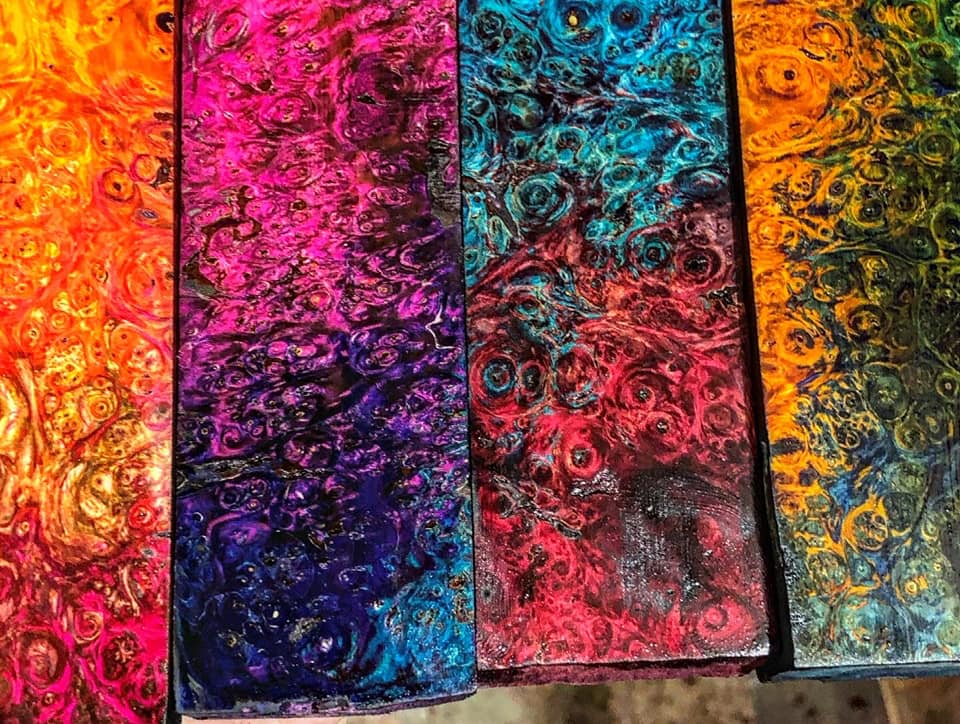
Coloring Cactus Juice
Cactus Juice can be dyed when you want to add some color to the wood. I have tried various different dyes and have had the best success with Alumilite Dyes or Cactus Juice Stabilizing Dyes. They are very concentrated and produce nice, vivid colors that mix and work well with the Juice. Some dyes such as Transtint can be used in small amounts but if you add too much, it can affect the way the Juice cures. Be sure to use more dye than you think you need!
Apply Vacuum
After the Cactus Juice has been added to the chamber, place the lid on the chamber. You may need to apply a little pressure on the lid to get the gasket to seal. When you initially start the vacuum, you will be pulling an extraordinary amount of air out of the blanks which will cause the Juice to foam up considerably. It is best to open the vacuum control valve completely before starting the pump and slowly close it, keeping the foam under control. After the major foaming has subsided, apply full vacuum.
Depending on the wood you are stabilizing and the vacuum pump you are using, it could take anywhere from 4-6 hours on the low end to 24+ hours on the high end o fully evacuate the air from your material. I would say the most common is 12+ hours. If your wood contains any moisture at all, you will continue to get tiny bubbles for MANY hours (24-36). I suggest drying your wood as mentioned above. Keep the vacuum going until you see very few bubbles coming from the blanks. After all the air has been evacuated, release the vacuum and turn off your pump. (It is really important to not shut off your pump while under vacuum if you are using a rotary vane pump. You will cause premature wear on your pump.)
Allow the blanks to soak with no vacuum for twice as long as you had them under vacuum at a minimum. A longer soak, up to a week, will yield better results in many species of wood. Remember, the majority of resin uptake occurs AFTER you release the vacuum. Some species of wood such as Walnut and Redwood benefit from an extended soak. I usually soak these for 1 week.
Curing the Blanks
Remove the blanks from the resin after they soak. Allow the excess Cactus Juice to drain from the blanks. If you will be curing a lot of blanks at one time, it is a good idea to wrap the blanks individually in foil so that they don’t become one solid mass once the Juice cures. An easy way to do this is to roll out a 2’ (60 cm) piece of foil and start at one end, rolling the first blank in the foil until it is covered. Then add the second blank next to the first and wrap all of it again. Then add the third and repeat until all blanks are wrapped. Fold the ends over and you are ready for the oven.
Alternatively, cure the blanks without wrapping in foil if you can fit them in without them touching each other. Foil is not required and does not help keep Juice in the wood. It is there for 2 main reasons, contain the mess (some of the Juice will bleed out when heated) and to allow you to stack more blanks in your oven at one time. Remember, if you stack blanks together or let them touch without the foil, they will cure as a solid block that will have to be cut apart! If you cure without foil, be sure to use a drip pan to catch any bleed out. If you are stabilizing pieces to then be cast in Alumilite, it is highly recommended to NOT use foil so the natural edges will remain free of cured Cactus Juice.
Now place the blanks in an oven pre-heated to 190-200° F (87-93° C). Be sure to check the actual temperature of you toaster oven with an oven thermometer. The dials on toaster ovens are notoriously inaccurate. Too hot will not harm the Juice but will cause more of it to "leak" out of the blank before it cures. The internal temperature of the blank needs to reach 190-200° F (87-93° C) for a minimum of 10 minutes for the Juice to cure. This usually takes around 1-1.5 hours for the typical pen blank but may take longer for thicker material. It does not hurt to leave the blanks in the oven even longer but once you take them out, if you let them cool down and they are not completely cured, placing them back in the oven will NOT cause a complete cure. It is best to err on the side of caution and cure them longer until you get a better feel for the process. To determine if the blanks are cured, open the oven door and look for any cured Cactus Juice on the blanks or in your drip pan. If you wrapped in foil, remove the blanks and peel the foil back. If you see any cured Cactus Juice, the blanks are done. If you do not see any cured Cactus Juice, let them cure for another and check again.
Finishing Up
Once the blanks are finished curing, remove the blanks from the oven with gloves and un-wrap the foil. Allow the blanks to cool to room temperature. Once the blanks have cooled, you can scrape off the resin that has bled out of the blank or clean it up on a saw. This step is not required but will help you see the finished blank better to determine how you want to use them. A belt sander also does a great job.
Cleaning the Chamber and Storing Your Excess Juice
When finished with the stabilizing process, pour the excess Cactus Juice from the chamber and save it for later use. I recommend only using HDPE or LDPE plastic containers since some other plastics can be dissolved by Cactus Juice. DO NOT USE GLASS JARS or PET plastic (optically clear plastic) soda bottles! Both can cause the Cactus Juice to cure on its own over time. Cactus Juice does not evaporate so there is no need for an air tight lid. Once the excess Juice has been removed, simply wash out the chamber with dish soap, water, and a rag. Be sure to allow it to dry completely before your next use.
Thank you for your business!